We are reader supported. When you purchase through links on our site, we may earn an affiliate commission. Also, as an Amazon affiliate, we earn from qualifying purchases.
RO water gives you control over your aquarium chemistry, but only if you store it safely. The wrong container can leach contaminants, grow biofilm, or make simple water changes a chore. Pick the right reservoir and your RO or saltwater stays stable, clean, and ready on demand. This guide walks you through what matters, then reviews five proven containers that hobbyists rely on. Each pick prioritizes food-safe materials, ease of use, and durability. Read on to find the best match for your space, budget, and tank size.
Why RO water storage matters
Purity can be lost after filtration
RO and RO/DI systems strip out minerals and contaminants. Once that water leaves the filter, it can pick up impurities from anything it touches. Surfaces that are not food safe, plumbing fittings with metals, a lid that lets dust settle in, or sunlight that sparks algae growth will all undo your hard work. Proper storage protects the low TDS you paid for.
Common failures that ruin RO water
New hobbyists often choose random totes or old buckets. Many are not made from food-grade resin. Some are translucent and sit near a window, which grows algae. Some are open-topped, which invites dust and spores. Others lack a spigot, so every transfer means lifting, spilling, and contaminating the rim. These small issues add up to unstable parameters, nuisance algae, and avoidable maintenance.
What to look for in a container
Material: Prioritize food-grade HDPE, LDPE, or PP. These are chemically resistant and widely used for potable water. Avoid metals and unknown plastics.
Opaque walls: Dark or opaque containers block light and reduce algae growth.
Tight lid: A fitted, vented lid keeps out dust and insects while allowing pressure equalization.
Plumbing options: Flat spots or built-in bulkheads make it easy to add valves and lines. If not included, ensure there is enough material thickness to drill a proper bulkhead.
Manageable footprint: Consider where it will live. Tall vertical tanks save floor space. Rolling cans simplify cleaning and refilling.
Capacity planning: Store at least one large water change plus a buffer. Many reefers keep separate tanks for RO and premixed saltwater.
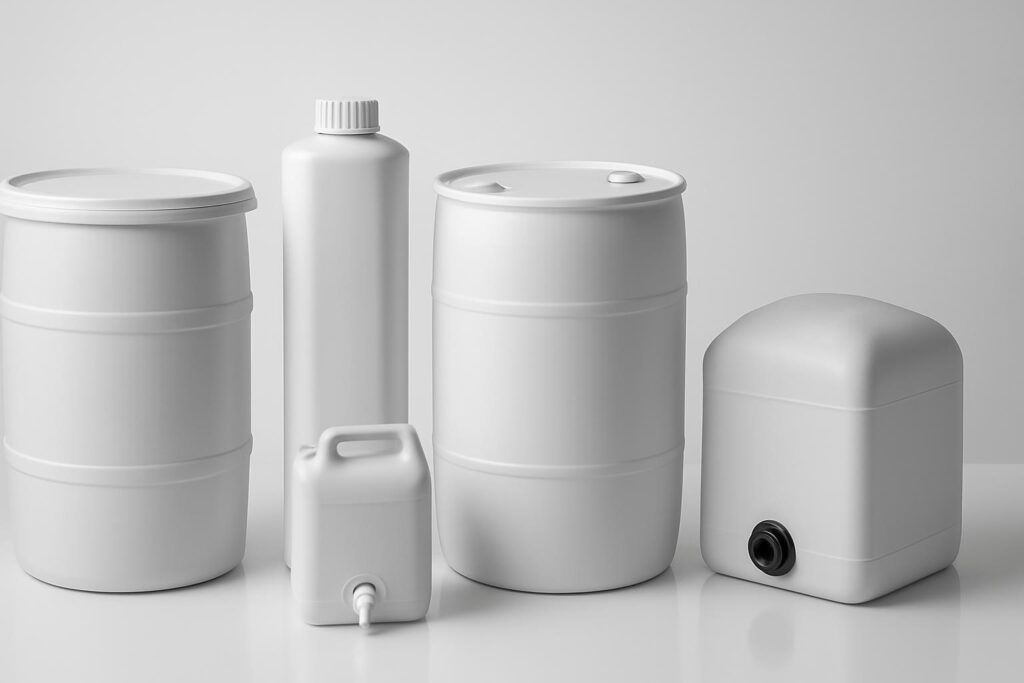
5 best aquarium water storage containers for RO water
1) Rubbermaid Commercial Brute 32 Gallon Container with Lid
This classic heavy-duty can is a staple in the hobby for a reason. The Brute line uses robust polyethylene, reinforced rims, and a form-fitting lid. It is tough, easy to clean, and large enough for most weekly water change routines. Many hobbyists keep two: one for RO/DI water and one for mixing saltwater with a pump and heater.
Why it helps: Thick, durable walls handle heaters and mixing pumps without flex. The lid seats well to keep out dust and spores. Handles are strong, and the optional rolling dolly makes it easy to move for cleaning.
Best for: Small to mid-sized aquariums up to about 120 gallons that need 10 to 30 gallons per change. Great if you want a simple, proven setup that can be plumbed with a bulkhead and valve.
Key setup tips: If you plan to drain by gravity, install a 3/4 inch bulkhead near the bottom and add a ball valve. For saltwater mixing, drop in a small utility pump and heater, and run a short loop hose to circulate. Label the lid RO or Salt to prevent mix-ups.
Potential downsides: The footprint is wide, so measure your space. Light-colored cans let in more light; store away from windows. The dolly is an extra accessory if you want mobility.
Bottom line: A reliable, affordable workhorse that sets up fast and lasts for years.
2) Norwesco 35 Gallon Vertical Water Storage Tank
Norwesco vertical tanks are designed for potable water and made from food-grade polyethylene resins. The tall, narrow profile saves floor space while offering serious capacity. They include a vented lid and typically a molded outlet bulkhead, which makes plumbing straightforward.
Why it helps: Purpose-built for water with UV-stabilized resin and a robust, uniform wall thickness. The vertical shape fits tight corners and leaves room for a second tank for saltwater. Black or dark models reduce light penetration and algae risk.
Best for: Dedicated utility rooms, garages, or fish rooms that benefit from a vertical, semi-permanent reservoir. Perfect when you want gravity feed from a bottom outlet.
Key setup tips: Place on a flat, supported surface. Use the included outlet to add a valve and quick-connect for your hose. A float valve under the lid prevents overfilling from your RO line.
Potential downsides: Higher cost than basic cans. Less portable once in place. If the outlet is very low, you may need risers or blocks to clear a valve.
Bottom line: A tidy, space-efficient reservoir with clean plumbing and minimal light exposure.
3) BayTec 55 Gallon Food Grade Plastic Drum with Bung Caps
This 55-gallon closed-head drum stores a lot of RO water in a small footprint. The sealed top with 2 bung openings reduces contamination risk. The food-grade HDPE construction is durable and compatible with freshwater and saltwater. For large aquariums, a single drum can hold several water changes worth of volume.
Why it helps: High capacity means fewer production cycles and less waiting on the RO unit. The closed top minimizes dust and airborne contaminants. Standard bung threads accept drum faucets and dip tubes for clean dispensing.
Best for: Large reef systems or clubs that need 30 to 50 gallons at a time. Also useful for long gaps between changes or for automated top-off reservoirs.
Key setup tips: Use a drum tap or a bulkhead through a bung for a controlled outlet. A pump and hose make transfers simple. Strap or cradle the drum so it cannot tip. If used for saltwater, dedicate a mixing pump that stays inside the drum.
Potential downsides: Closed-head drums are harder to scrub because the openings are small; a bottle brush helps. You need a bung wrench for tight caps. When full, it is very heavy and should not be moved without proper equipment.
Bottom line: A robust, high-capacity solution that keeps water sealed and stable between uses.
4) Reliance Aqua-Tainer 7 Gallon Rigid Water Container
When space is tight or you need portability, this compact, stackable container is a smart pick. It is designed for potable water and includes a reversible spigot stored in the cap. For nano tanks or apartments, several of these can cover weekly changes without taking over a closet.
Why it helps: Light, strong, and easy to carry. The built-in handle and spigot simplify controlled dispensing into buckets or directly into an ATO reservoir. Multiple units stack neatly.
Best for: Nano and small aquariums up to about 30 gallons, or anyone hauling RO water from a local source.
Key setup tips: Rinse and sanitize before first use. Store upright. For transport, flip and store the spigot inside the cap to prevent drips. Dedicate one container for RO and another for saltwater.
Potential downsides: The opening is smaller than a Brute can, so deep cleaning takes more effort. The small spigot can drip if not tightened well. Not ideal for mixing salt in large batches.
Bottom line: A portable, affordable choice that keeps small volumes of RO water clean and easy to dispense.
5) RomoTech 50 Gallon Dome-Top Polyethylene Reservoir
RomoTech tanks balance capacity, durability, and convenient features. The dome-top design resists bowing, while flat areas allow easy valve and fitting installation. Many models include volume markings that help you track production and mixing.
Why it helps: Thick, food-grade polyethylene handles RO and saltwater without leaching. The rectangular or oval footprints are stable and fit against walls. Integrated tie-down channels help secure the tank during transport or in earthquake-prone areas.
Best for: Hobbyists building a semi-permanent water station with enough headroom for automation, float valves, and clean hose management.
Key setup tips: Install a bottom valve for fast draining and a top float valve for overflow protection. Add a dedicated mixing pump if you also keep saltwater in it. Use the molded volume markings to measure salt mix precisely.
Potential downsides: Opaque white lets in some light; store away from windows or cover it. You may need to purchase a valve kit separately. Cost is mid to high compared to basic cans.
Bottom line: A professional-feeling reservoir that supports tidy plumbing and repeatable mixing.
How to set up a clean RO storage station
Sanitize the container before first use
Rinse the container with warm water to remove dust. Then disinfect. Rinse, then fill with a mild unscented bleach solution at about 1 tablespoon per gallon, let it sit 30 minutes, rinse thoroughly, and neutralize any trace with a dechlorinator. You can also use a 1:20 white vinegar rinse to remove manufacturing dust or odors. Let the container air dry with the lid off before filling with RO water.
Plumbing that saves time
Float valve: Install a float valve under the lid where your RO line enters. It stops production when the reservoir is full and prevents spills.
Bottom valve: A bulkhead and ball valve near the base let you drain by gravity into buckets or hoses.
Utility pump: Drop a small pump inside with a hose to transfer water to the tank. For saltwater, run the pump periodically to keep the mix uniform.
Hose management: Use quick-connects and keep hoses capped when not in use. Dedicate a hose to RO and another to saltwater.
Label clearly and separate tasks
Keep RO and saltwater in separate, clearly labeled containers. Color-code lids or use bold labels. Store measuring cups, refractometer, and test kits nearby to streamline your workflow.
Care and maintenance
Cleaning cadence
For RO-only reservoirs, a light clean every 1 to 3 months keeps biofilm away. For saltwater mixing containers, clean monthly to remove film and salt creep. A sponge, bottle brush, and vinegar make quick work of mineral film.
Storage time guidelines
Clean, sealed RO water keeps well for many weeks. Mixed saltwater is best used within 1 to 2 weeks if kept heated and circulating, and longer storage calls for testing salinity and alkalinity before use.
Avoid contamination
Do not use containers that once held chemicals. Avoid any metal contact with RO water, including copper, brass, and galvanized fittings. Keep the lid closed and store out of direct sunlight to minimize algae.
Troubleshooting
Plastic smell: Repeat the vinegar rinse and allow more airing time. Persistent odor usually fades after a couple of fills.
TDS creep: Check RO prefilters and resin, then inspect hoses and fittings for contamination. Ensure your container is truly food grade.
Biofilm: Increase cleaning frequency, keep the lid closed, and reduce light exposure. Consider a brief bleach disinfection followed by thorough rinsing and dechlorination.
Quick picks by scenario
Small apartments and nano tanks: Reliance Aqua-Tainer 7 Gallon. Portable, stackable, easy dispensing.
Most hobbyists up to 120 gallons: Rubbermaid Brute 32 Gallon. Simple, durable, and easy to set up with a pump and valve.
Space-saving vertical setup: Norwesco 35 Gallon Vertical. Clean plumbing with minimal footprint.
Large reef systems and clubs: BayTec 55 Gallon Drum. High capacity with sealed top.
Semi-permanent, tidy station: RomoTech 50 Gallon Reservoir. Easy to plumb and monitor volumes.
Conclusion
The right storage container protects the purity of your RO water and makes maintenance faster. Focus on food-grade plastics, a tight lid, minimal light exposure, and simple plumbing. For most homes, a Brute can or a vertical polyethylene tank offers the best mix of reliability and convenience. If you run a large system, step up to a sealed drum or a purpose-built reservoir that supports clean plumbing. With a sanitized container, a float valve, and a transfer pump, your water-change routine becomes consistent and low stress.
FAQ
Q: What container material is safest for storing RO water?
A: Choose food-grade HDPE, LDPE, or PP. Avoid metal containers and unknown plastics.
Q: How should I sanitize a new RO water container?
A: Rinse, then fill with a mild unscented bleach solution at about 1 tablespoon per gallon, let it sit 30 minutes, rinse thoroughly, and neutralize any trace with a dechlorinator. You can also use a 1:20 white vinegar rinse to remove manufacturing dust or odors.
Q: Should the container be opaque or clear?
A: Opaque or dark containers block light and help prevent algae. Clear or translucent bins are fine if kept in a dark place with the lid closed.
Q: How long can I store RO and saltwater?
A: Clean, sealed RO water keeps well for many weeks. Mixed saltwater is best used within 1 to 2 weeks if kept heated and circulating, and longer storage calls for testing salinity and alkalinity before use.
Q: Do I need a spigot or pump?
A: A bottom valve or spigot makes water changes faster and cleaner. Many hobbyists add a small utility pump and a hose for easy transfer and for mixing saltwater in place.